Are you looking to create a pamphlet for your business, event, or organization? With the power of Microsoft Word, designing and crafting a professional-looking pamphlet has never been easier.
Whether you’re promoting a new product, sharing important information, or advertising an upcoming event, a well-designed pamphlet can be an effective tool for engaging your target audience.
In this comprehensive guide, we’ll explore the various ways to produce a pamphlet using Word, from utilizing pre-made templates to developing one from scratch. We’ll also provide valuable tips and insights to help you design a visually appealing and impactful pamphlet that resonates with your audience.
Should You Use Word To Make A Pamphlet?
Microsoft Word is an excellent choice for creating pamphlets for several reasons. First and foremost, it’s a widely available and user-friendly software that most people are already familiar with. This eliminates the need to learn a new program, saving you time and effort.
Additionally, Word offers a vast array of templates and design tools that make the process of crafting a pamphlet straightforward and efficient. With its built-in formatting options, you can easily customize the layout, font styles, and color schemes to match your brand or event theme.
Another advantage of using Word to design a pamphlet is its compatibility with other Microsoft Office applications. This seamless integration allows you to incorporate elements from other programs, such as Excel spreadsheets or PowerPoint presentations, into your pamphlet design.
Furthermore, Word provides the flexibility to create a pamphlet from scratch or use a pre-existing template, catering to both experienced designers and those with limited design skills. This versatility makes it an ideal choice for individuals, small businesses, and organizations alike.
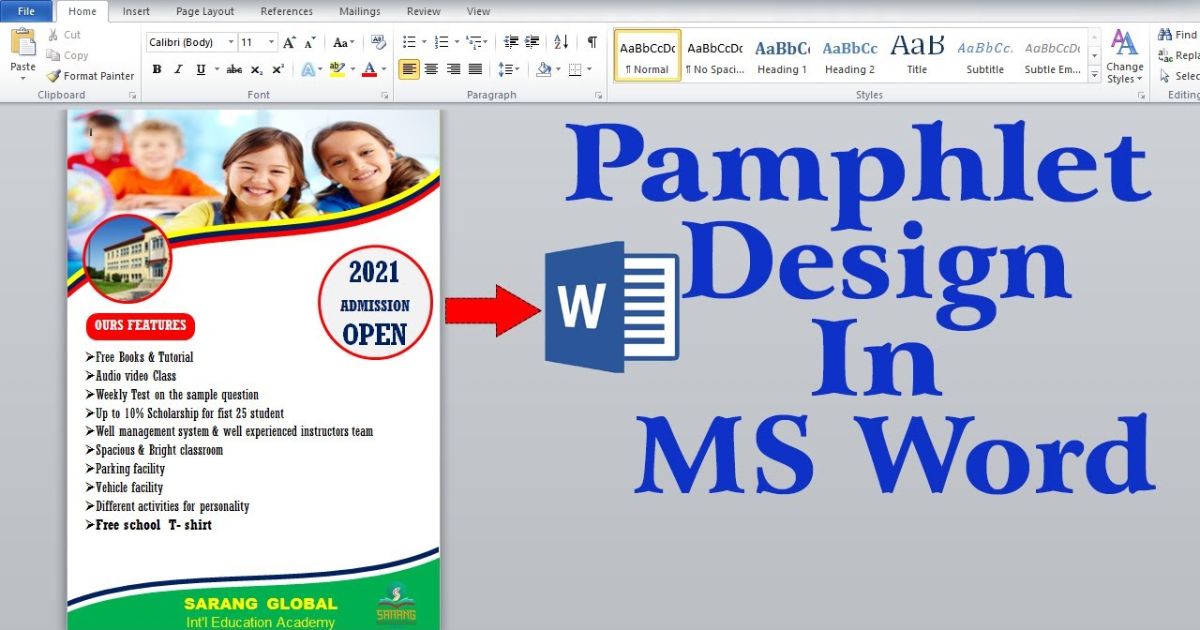
How To Make A Pamphlet On Word With A Template
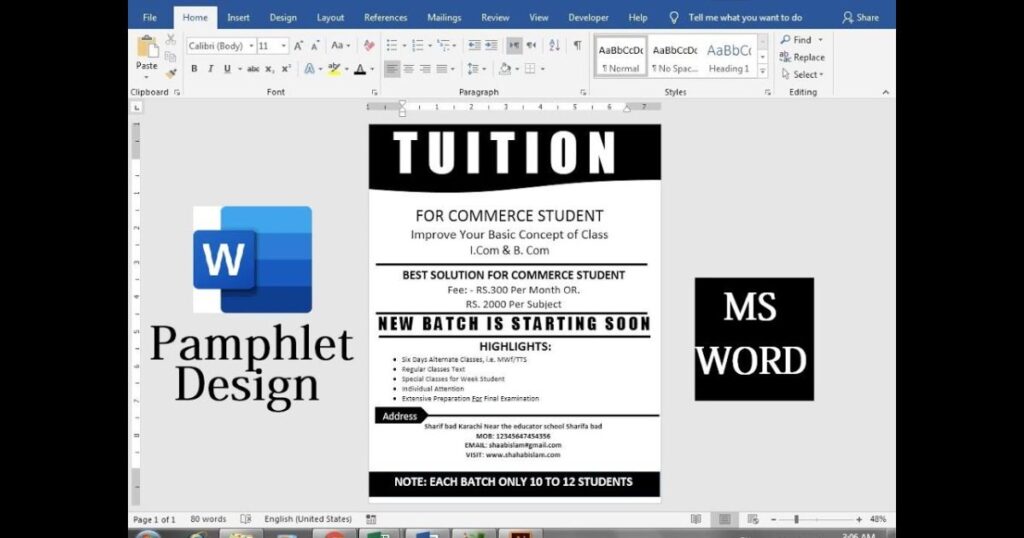
One of the quickest and most convenient ways to produce a pamphlet in Word is by utilizing a pre-designed template. Word offers a wide range of templates specifically tailored for brochures and pamphlets, making the design process a breeze. Here’s how to create a pamphlet using a template:
- Open Microsoft Word on your computer or laptop.
- Navigate to the “File” menu and select “New.”
- In the “New” window, type “brochure” or “pamphlet” in the search bar to display a variety of relevant templates.
- Browse through the available templates and double-click on the one that best suits your needs.
- The selected template will open in a new document window, ready for you to customize.
- Replace the placeholder text and images with your own content, such as product information, event details, or organizational messaging.
- Adjust the layout, colors, and fonts to align with your brand or desired aesthetic.
- Insert additional images, graphics, or tables by using the “Insert” tab and selecting the appropriate option.
- Once you’ve completed your design, save the pamphlet file for future reference or printing.
Using a template not only saves time but also ensures a professional and cohesive look for your pamphlet. With a wide range of pre-designed options available, you’re sure to find a template that aligns with your vision and requirements.
How To Create A Pamphlet In Word From Scratch
If you prefer to have complete control over the design process or can’t find a suitable template, you can create a pamphlet in Word from scratch. This approach allows you to tailor every aspect of the pamphlet to your specific needs and preferences. Follow these steps to develop a pamphlet from the ground up:
- Open a new blank document in Microsoft Word.
- Navigate to the “Layout” tab and select “Orientation.” Choose “Landscape” to ensure your pamphlet has the proper orientation.
- If you want a double-sided pamphlet, go to the “Insert” tab, click “Pages,” and select “Blank Page” to add a second page.
- Determine the number of columns you want for your pamphlet layout. Go to the “Layout” tab, click “Columns,” and choose the desired number of columns (typically two for a bi-fold pamphlet).
- Insert and format your text by selecting the desired font, size, and color from the “Home” tab.
- To add text in a specific area of the pamphlet, insert a text box by going to the “Insert” tab and clicking “Text Box.”
- Enhance your pamphlet’s visual appeal by inserting graphics or images. Go to the “Insert” tab and select “Pictures” to add your desired images.
- Once you’ve completed your design, save your pamphlet file for future reference or printing.
By creating a pamphlet from scratch in Word, you have complete control over every aspect of the design. This approach allows you to craft a unique and highly customized pamphlet tailored to your specific needs and preferences.
How To Design A Pamphlet On Google Docs
While Word is a popular choice for creating pamphlets, Google Docs also offers a viable alternative. With its cloud-based platform and collaborative capabilities, Google Docs can be a convenient option, especially for those who prefer working online or need to collaborate with others on their pamphlet design.
How to design a pamphlet from a template in Google Docs:
1. Open Google Docs in your preferred web browser.
2. Navigate to the “File” menu and select “New,” then choose “From template.”
3. In the template gallery, search for “brochure” or “pamphlet” templates, often found in the “Work” category.
4. Select the desired template by clicking on it.
5. Customize the template by replacing the placeholder text and images with your own content.
6. Adjust the layout, fonts, and colors to suit your preferences.
7. Once you’ve finished designing your pamphlet, save it to your Google Drive or download it in various formats (PDF, DOCX, etc.) for printing or sharing.
Also read this Post: Make a Brochure on Google Docs
How to design a pamphlet from scratch in Google Docs
| Step | Instructions |
| 1. | Open a new blank document in Google Docs. |
| 2. | Adjust the page setup by going to “File” > “Page setup” to set the desired page size, orientation (landscape), and margins. |
| 3. | Insert a table by going to “Insert” > “Table” and configure the desired number of rows and columns for your pamphlet layout. |
| 4. | Add a new page by going to “Insert” > “Break” > “Page break” and repeat the table insertion process for the inside pages of your pamphlet. |
| 5. | Insert your content, such as text and images, into the table cells. |
| 6. | Customize the font styles, colors, and backgrounds as desired. |
| 7. | Once you’ve completed your design, hide the table borders by going to “Format” > “Table” > “Table properties” and setting the border to 0 pt. |
| 8. | Save or download your pamphlet for printing or sharing. |
Google Docs provides a convenient and collaborative platform for designing pamphlets, making it an excellent choice for those who prefer working in the cloud or need to collaborate with others on the design process.
Tips On How To Design A Great Pamphlet
Crafting an effective and visually appealing pamphlet requires careful consideration of various design elements. Here are some valuable tips to help you develop a great pamphlet:
1. Maintain proper margins:
Ensure there is sufficient space (approximately 1/8 inch) between design elements (text, images) and the fold lines or edges of the pamphlet. This will prevent content from being cut off or appearing too cramped.
2. Consider your target audience:
Tailor the design and content of your pamphlet to resonate with your intended audience. For example, a pamphlet targeting parents for a school event should have a professional and informative design, while one aimed at food enthusiasts may benefit from a more colorful and visually appealing approach.
3. Limit the number of fonts:
While it’s tempting to incorporate multiple fonts for visual interest, it’s best to stick to one or two complementary font styles. Using too many fonts can make your pamphlet appear cluttered and unprofessional.
4. Prominently display your logo:
If you’re creating a pamphlet for your business, ensure your company logo is prominently displayed on the front and back covers. This will reinforce brand recognition and make your pamphlet more memorable.
5. Break up text with visuals:
Avoid overwhelming your readers with large blocks of text. Instead, break up the text with relevant images, graphics, or whitespace every four to five sentences to make the content more digestible and visually appealing.
6. Use high-quality images:
Incorporate high-resolution images and graphics to enhance the visual appeal of your pamphlet. Blurry or pixelated images can detract from the overall professional appearance.
7. Utilize contrasting colors effectively:
Incorporate contrasting colors to make specific elements stand out, such as headings, calls-to-action, or important information. However, be mindful not to overuse too many contrasting colors, as it can make the design appear busy and overwhelming.
8. Emphasize your call-to-action:
Include a clear and compelling call-to-action (CTA) that encourages your readers to take the desired action, such as visiting your website, making a purchase, or attending an event. Position the CTA prominently and make it visually distinct from the surrounding content.
9. Maintain consistent branding:
Ensure that your pamphlet design aligns with your overall brand identity, including color schemes, fonts, and visual elements. Consistent branding helps reinforce brand recognition and credibility.
10. Use whitespace effectively:
Whitespace, or negative space, is an essential design element that can help create a clean and organized layout. Utilize whitespace strategically to separate sections, highlight important information, and prevent your pamphlet from appearing cluttered.
11. Proofread and review:
Before finalizing your pamphlet design, thoroughly proofread the content for any spelling or grammatical errors. Additionally, review the overall layout and design to ensure consistency and visual appeal.
12. Consider printing options:
When ready to print your pamphlet, choose a high-quality printing option that suits your budget and requirements. If your pamphlet has content on both sides, ensure that you use a printer capable of duplex (double-sided) printing for a professional finish.
By following these tips, you can craft a visually stunning and effective pamphlet that captures your audience’s attention and effectively communicates your message.
FAQ’s
What’s a good paper to use for pamphlets?
A good paper choice for pamphlets is a higher-weight stock, such as cardstock or a glossy coated paper. These papers are more durable and will give your pamphlet a professional and high-quality appearance. Regular copy paper may be suitable for simple pamphlets, but it may not hold up as well over time or have the desired visual impact.
What is a call to action on a pamphlet?
A call to action (CTA) on a pamphlet is a clear and compelling statement or directive that encourages the reader to take a specific action. This could be visiting a website, making a purchase, attending an event, or contacting your business. An effective CTA should be prominently displayed, visually distinct, and use persuasive language to motivate the reader to take the desired action.
By incorporating compelling calls-to-action into your pamphlet design, you can increase engagement and drive your target audience to take the next step, whether it’s learning more about your products or services, making a purchase, or attending an event.
Conclusion
With the tips, techniques, and step-by-step guides provided in this comprehensive article, you now have the knowledge and tools to design and craft professional-looking pamphlets using Microsoft Word or Google Docs.
Whether you choose to work with templates or develop your pamphlet from scratch, these powerful software applications offer a range of features and customization options to help you create visually appealing and impactful pamphlets that effectively communicate your message to your target audience.

Alexander Wren, a seasoned author with 8 years of expertise, excels in document assistance. His domain “docs help ful” showcases a legacy of user-friendly content, blending creativity and precision to simplify complexity.