To create hanging indents in Google Docs select the text, go to the ruler and adjust the left indent marker. Alternatively use the Format menu for indentation options. Hanging indents enhance the visual appeal of lists or references in your document.
Unlock the secret of tidy formatting in Google Docs with hanging indents!How To Do Hanging Indents on Google Docs? Follow a few simple steps to master the art of hanging indents effortlessly. Say goodbye to messy documents and hello to a cleaner, more professional appearance. Let’s dive into the quick and easy world of Google Docs hanging indents your documents will thank you
To create hanging indents in Google Docs, highlight the text you want to format. Click on Format in the toolbar, choose Align indent and then select Indentation options. In the dialog box, set the Special indent to Hanging and adjust spacing. Click Apply and then OK. Your text now has a hanging indent, with the first line flush left and subsequent lines indented.
What is a Hanging Indent?

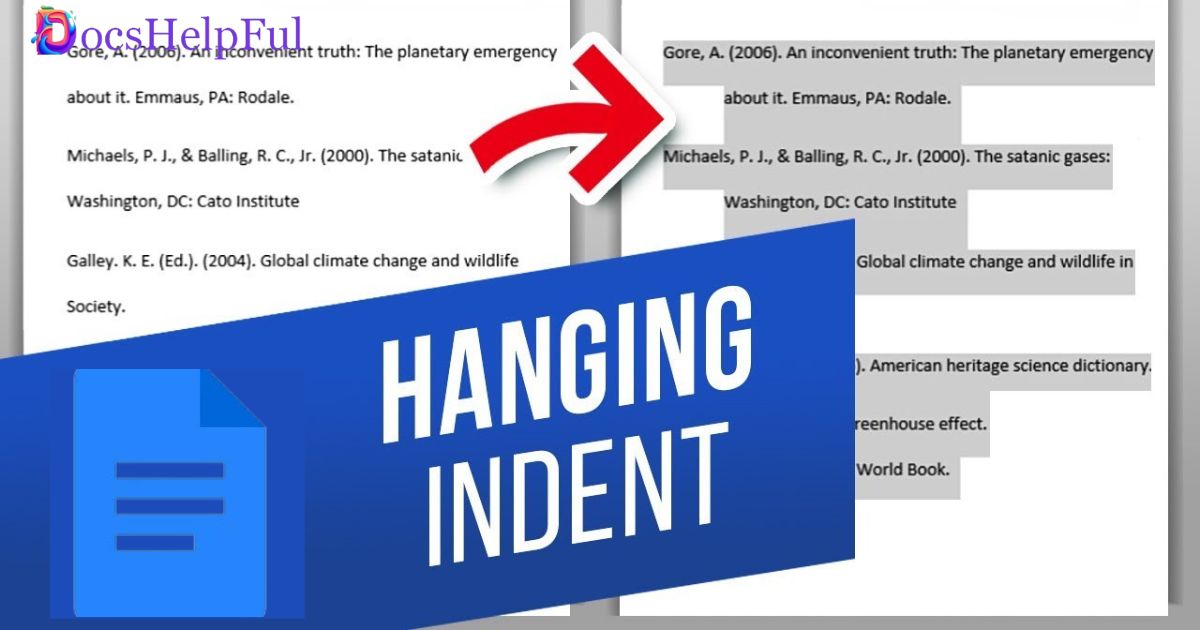
A hanging indent is a typographic style where the first line of a paragraph is aligned to the left margin, but subsequent lines are indented. The first line stands out, while the rest “hang” to the right of the initial line. Hang ing indents are commonly used in documents such as bibliographies, references, and outlines to create a visually organized and structured appearance.
This formatting style is often employed in academic writing, articles, and other types of documents where a consistent and professional layout is desired. In word processing software, you can typically set a hanging indent by adjusting the paragraph formatting options.
How to Do a Hanging Indent on Google Docs
In Google Docs, creating a hanging indent is a straightforward process. A hanging indent is commonly used in bibliographies or reference lists, where the first line of each entry is flush with the left margin, and subsequent lines are indented. Here’s how you can do it:
Open your Google Docs document:
- Go to Google Docs, and open the document in which you want to apply the hanging indent.
Select the text:
- Highlight the text where you want to apply the hanging indent.
Access the “Format” menu:
- Go to the top of the screen and click on the “Format” menu.
Choose “Align & indent” -> “Indentation options”:
- Hover over “Align & indent” in the dropdown menu.
- Select “Indentation options” from the submenu.
Set the hanging indent:
- In the “Indentation options” dialog box, locate the “Special” section.
- Choose “Hanging” from the dropdown menu under “Special.”
- Specify the amount of the hanging indent in inches or centimeters.
Click “Apply” and then “OK”:
- Click the “Apply” button to see the changes in the preview area.
- Once satisfied, click “OK” to apply the hanging indent to your selected text.
How to Indent on Google Docs
Using the Ruler:
- Open your Google Docs document.
- If the ruler is not visible, go to “View” in the menu and make sure “Show ruler” is checked.
- Highlight the text you want to indent.
- On the ruler, you’ll see two triangle-shaped markers. The top one controls the left indent, and the bottom one controls the first line indent.
- Drag the top marker to the right to set a left indent, and drag the bottom marker to set a first line indent.
Using the Indentation Options in the Toolbar:
- Open your Google Docs document.
- Highlight the text you want to indent.
- Look for the “Indent” options in the toolbar. You’ll find icons for decreasing and increasing the indent. Alternatively, you can use the “Format” menu and choose “Paragraph,” where you will find options for indentation.
Using Keyboard Shortcuts:
- Highlight the text you want to indent.
- Press Ctrl + M (Windows/Linux) or Command + M (Mac) to increase the indent.
Setting Paragraph Indents:
- Open your Google Docs document.
- Click on the “Format” menu.
- Choose “Paragraph styles” and then “Normal Text” or any other style you are using.
- Click on “Normal text” options (or the style you are using) and choose “Update ‘Normal Text’ to match.”
Looking for More Google Docs Tips?
| No. | Google Docs Tips |
| 1 | Keyboard Shortcuts – Speed up your workflow with handy shortcuts. For example, Ctrl + B for bold, Ctrl + I for italics. |
| 2 | Version History – Track changes and revert to previous versions easily with the version history feature under “File.” |
| 3 | Collaborative Editing – Collaborate in real-time with others by sharing your document and working together simultaneously. |
| 4 | Explore Tool – Use the Explore tool for quick research, image insertion, and citation suggestions without leaving your document. |
| 5 | Add-Ons – Enhance functionality by exploring and integrating useful add-ons from the Google Workspace Marketplace. |
| 6 | Table of Contents – Automatically generate a table of contents for your document using the built-in tool. |
| 7 | Voice Typing – Speed up your typing by using the voice typing feature under the “Tools” menu. |
| 8 | Offline Mode – Enable offline mode to access and edit your documents without an internet connection. |
| 9 | Templates – Save time by starting with a professionally designed template for resumes, reports, and more. |
| 10 | Linking within Document – Create internal links for easy navigation within your document. Right-click on a heading and select “Link.” |
FAQS
What is a Hanging Indent?
A typographic style where the first line aligns with the left margin, and subsequent lines are indented.
Why use Hanging Indents?
Enhances visual appeal and organization in documents like bibliographies and references.
How to create a Hanging Indent in Google Docs?
Highlight text, go to Format > Align & indent > Indentation options, choose Hanging, set spacing, and click Apply, then OK.
Can I use the Ruler for Hanging Indents in Google Docs?
Yes, drag the top ruler marker for left indent and the bottom marker for the first line indent.
Are there alternative indent methods in Google Docs?
Yes, use Format > Paragraph, toolbar icons, or keyboard shortcuts like Ctrl + M or Command + M.
Conclusion
mastering the art of hanging indents in Google Docs is a simple yet powerful tool for creating visually appealing and well-organized documents. The hanging indent, with its first line aligned to the left margin and subsequent lines indented, serves as a key typographic style in various academic and professional writing contexts. Its application, particularly in bibliographies, references, and outlines, contributes significantly to the overall cleanliness and professionalism of a document.
By following the straightforward steps outlined in the article, users can effortlessly unlock the potential of hanging indents in Google Docs. Whether utilizing the Format menu, the ruler, or keyboard shortcuts, the flexibility and accessibility of these methods empower users to tailor their document formatting according to their specific needs. The result is a cleaner, more polished appearance that not only enhances the visual appeal but also improves the overall readability and structure of the content.
In the broader context of Google Docs, the article also provides additional tips and tricks, showcasing the platform’s versatility. From collaborative editing and version history tracking to exploring various add-ons and utilizing features like voice typing and offline mode, users can harness the full potential of Google Docs for efficient and professional document creation. As users dive into the realm of hanging indents, they are also encouraged to explore these additional features, creating a holistic approach to document creation and formatting within the Google Docs ecosystem.
Click on this link to get more information “Download Images From Google Docs?

Alexander Wren, a seasoned author with 8 years of expertise, excels in document assistance. His domain “docs help ful” showcases a legacy of user-friendly content, blending creativity and precision to simplify complexity.