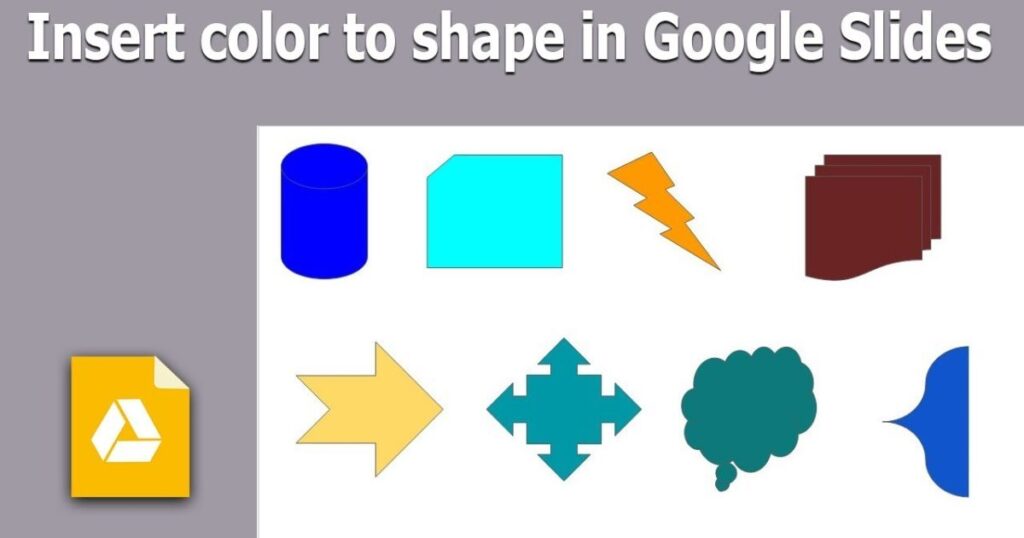
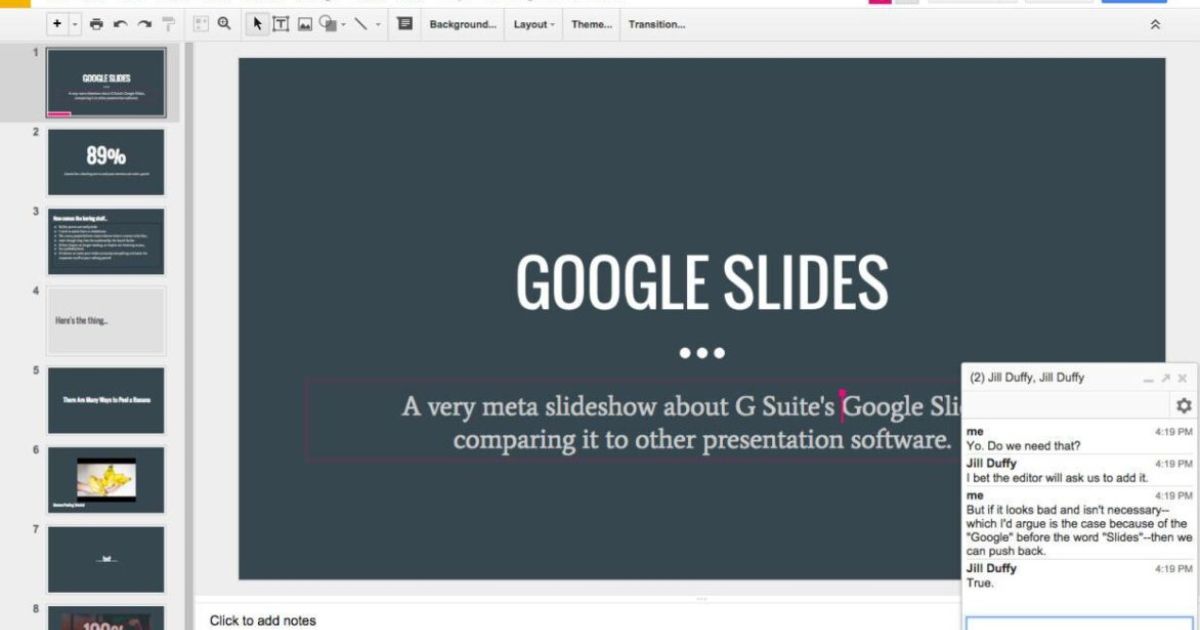
Are you tired of creating dull and lifeless presentations in Google Slides? Elevate your game by learning how to change opacity an essential technique that will breathe new life into your slides and captivate your audience.
In this comprehensive guide, we’ll walk you through the step-by-step process of adjusting opacity, unlocking a world of creative possibilities for your presentations.
What is Opacity and Why is it Important?
Before we dive into the nitty-gritty of changing opacity, let’s first understand what it means. Opacity refers to the degree of transparency or opaqueness of an object. By adjusting the opacity, you can control how visible or see-through an element appears on your slide.
Mastering opacity is crucial for several reasons:
Also read this Post: Euro Symbol in Word (€)
1. Enhance Visual Hierarchy
With opacity adjustments, you can create a clear visual hierarchy on your slides. By making certain elements more opaque (solid) and others more transparent, you can guide your audience’s attention to the most important information, ensuring your message is conveyed effectively.
2. Add Depth and Dimension
Flat, one-dimensional slides can be boring and uninviting. By playing with opacity, you can introduce depth and dimension, creating a sense of layering and depth that adds visual interest and dynamic appeal to your presentations.
3. Create Stunning Visual Effects
Opacity adjustments open up a world of creative possibilities. You can overlay text or shapes on images, create ghosted backgrounds, or even achieve stunning visual effects like frosted glass or watermark effects, taking your slide designs to new heights.
How to Change Opacity in Google Slides: Step-by-Step Guide

Now that you understand the power of opacity, let’s dive into the step-by-step process of adjusting it in Google Slides. Follow along with our easy-to-follow instructions, and you’ll be a pro in no time!
Step 1: Access Your Google Slides Presentation
First things first, open your Google Slides presentation. If you haven’t created one yet, simply go to your Google Drive and select “New” > “Google Slides” from the menu.
Step 2: Select the Object
Next, choose the object (text, shape, image, etc.) whose opacity you want to change. Click on the object to select it.
Step 3: Access the Format Options
With your object selected, click on the “Format” tab in the top menu bar. A drop-down menu will appear, giving you access to various formatting options, including opacity adjustments. Alternatively, you can right-click on the selected object and choose “Format options” from the context menu.
Step 4: Adjust Transparency
In the “Format” menu, hover over “Transparency.” A submenu will appear with options like “Transparency” and “Brightness.” Select “Transparency.”
Step 5: Set the Opacity Level
A slider will appear, allowing you to change the opacity of the selected object. Slide the bar left or right to decrease or increase the opacity. As you slide it, the object will become more or less transparent, depending on your preference.
Step 6: Fine-Tune the Opacity
If you need precise control over the opacity, you can manually enter a percentage value in the text box next to the slider. This is helpful when you want to achieve a specific level of transparency.
Step 7: Review and Repeat
Once you’re satisfied with the opacity level, review your slide to see how it looks. If you wish to change the opacity of another object, simply repeat the steps above for that particular item.
Advanced Tips and Tricks

Now that you’ve mastered the basics of changing opacity in Google Slides, let’s explore some advanced tips and tricks to take your presentations to the next level:
1. Animate Opacity Changes
Did you know you can animate opacity changes in Google Slides? After adjusting an object’s opacity, apply animation effects via “Insert” > “Animation” to create dynamic and engaging transitions. Watch as your elements smoothly fade in or out, capturing your audience’s attention.
2. Combine Opacity with Other Effects
Experiment with combining opacity adjustments with other effects like shadows, reflections, or 3D rotations to create stunning visual displays. The possibilities are endless when you combine these powerful tools.
3. Use Opacity for Backgrounds
While adjusting opacity on individual objects is great, don’t overlook the power of using opacity for your slide backgrounds. Create subtle, ghosted backgrounds or overlay textures and patterns with varying opacities to add depth and visual interest to your slides.
4. Create Layered Designs
One of the most exciting uses of opacity is creating layered designs. Stack multiple objects with different opacities to achieve a sense of depth and dimension, making your slides pop and stand out.
5. Consistency is Key
When adjusting opacity throughout your presentation, consistency is crucial. Establish a visual hierarchy and maintain it across all slides, ensuring a cohesive and professional look and feel.
Frequently Asked Questions
Can I change the opacity of text in Google Slides?
While you cannot adjust the opacity of text directly, you can create a text box, format it, and adjust its opacity as a whole. This allows you to maintain the text’s legibility while achieving the desired transparency effect.
What is the purpose of changing opacity in Google Slides?
Changing opacity in Google Slides serves multiple purposes, including enhancing visual effects, emphasizing content, improving slide design by controlling element prominence, and creating depth and dimension.
Can I animate objects with changing opacity in Google Slides?
Yes, after adjusting an object’s opacity, you can apply animation effects via “Insert” > “Animation” to animate objects in Google Slides with changing opacity levels.
Will changing the opacity affect the visibility of my presentation in presentation mode?
Yes, objects with lower opacity will appear more transparent in presentation mode, allowing background elements to show through. This can be used intentionally to create layered designs or subtle background effects.
Is it possible to revert the opacity changes in Google Slides?
Absolutely! To revert opacity changes, simply select the object, access “Format options,” and readjust the transparency slider or use the “Reset” option to restore the object to its original state.
Conclusion
Mastering the art of opacity adjustments in Google Slides is a game-changer for anyone looking to create visually stunning and engaging presentations. By following the step-by-step guide outlined in this article, you’ll be able to control the transparency of objects, unlock creative possibilities, and elevate your slide designs to new heights.
Remember, opacity is just one tool in your arsenal. Combine it with other effects, animations, and design principles to create truly captivating presentations that leave a lasting impression on your audience. So, what are you waiting for? Dive into Google Slides, experiment with opacity, and unleash your creativity.

Alexander Wren, a seasoned author with 8 years of expertise, excels in document assistance. His domain “docs help ful” showcases a legacy of user-friendly content, blending creativity and precision to simplify complexity.


